

In the digital wallets and contactless transactions era, the importance of integrating QR codes into our daily routines cannot be overstated. For iPhone users, Apple Wallet offers a seamless and secure way to store tickets, loyalty cards, boarding passes, and more right at your fingertips.
By adding QR codes to Apple Wallet, you unlock a new level of convenience and efficiency, ensuring your essential passes are always accessible without the need to sift through emails or worry about paper copies. Let's see how it works!
The Relationship between Apple Wallet and QR Codes
The fusion of Apple Wallet and QR codes is a match made in tech heaven. QR codes serve as the bridge, connecting the physical world with your digital wallet. Adding a QR code to Apple Wallet transforms it into a digital pass, enabling you to access, use, or present your tickets or loyalty cards with a simple scan.
Integrating QR Codes with Apple Wallet:
- Simplicity: Adding a QR code to Apple Wallet is straightforward, making it easier to manage your passes.
- Convenience: With all your passes in one place, you're always prepared, whether it's for a flight or a concert.
- Security: Apple Wallet's security features ensure your passes and information remain safe.
Adding a QR Code to Apple Wallet
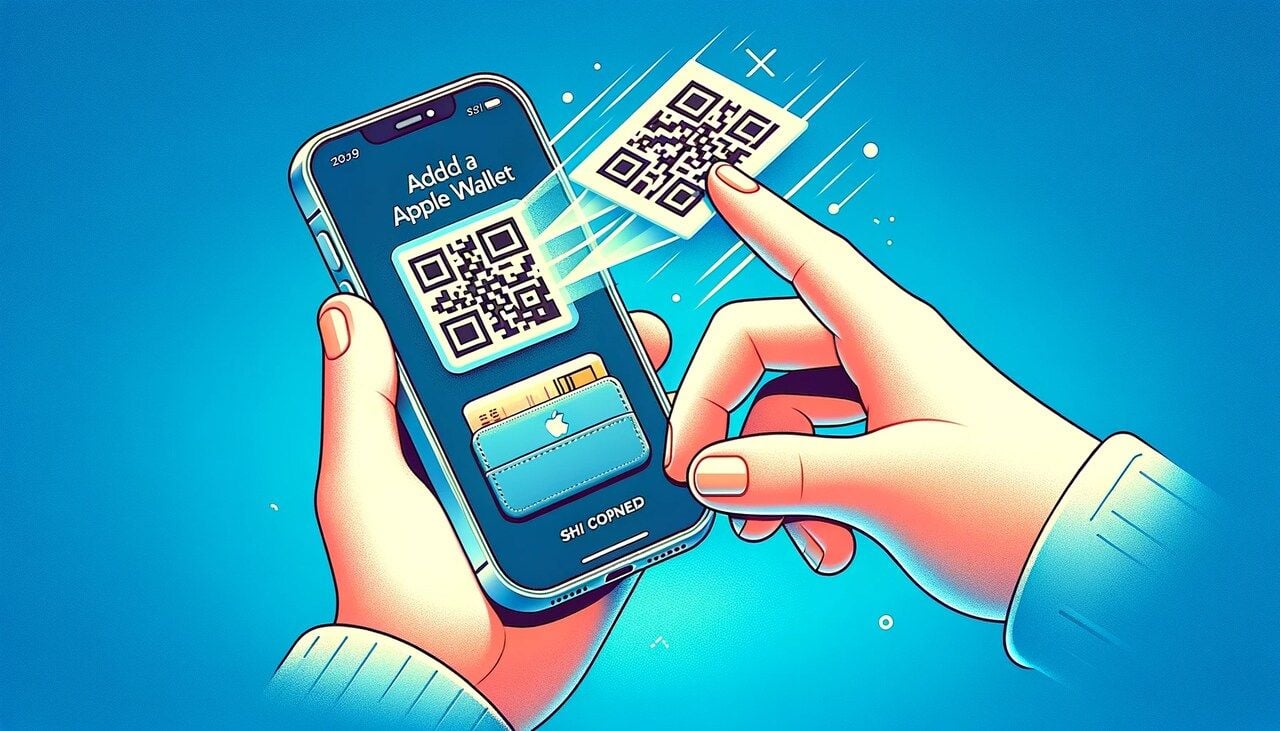
Stepping into the realm of digital convenience, adding a QR code to your Apple Wallet is a game-changer. This process declutters your physical wallet and ensures your tickets and passes are just a tap away. Let's walk through the steps and tips to seamlessly integrate QR codes into your Apple Wallet, transforming your iPhone into an even more powerful tool.
Preparation
Before diving into adding a QR code to Apple Wallet, a bit of preparation will ensure a smooth process. Here's what you need to do:
- Update Your iOS: Ensure your iPhone is running the latest version of iOS to avoid any compatibility issues.
- Check QR Code Compatibility: Verify that the QR code is designed for Apple Wallet. Look for indicators or instructions from the issuer stating its compatibility.
- Connect to the Internet: Some passes might require an internet connection to download or verify details.
With these preparatory steps out of the way, you're ready to add your QR codes to Apple Wallet.
Step-by-Step Guide on How to Add a QR Code to Apple Wallet
Adding a QR code to Apple Wallet is a breeze when you follow these simple steps:
For supported QR codes, you can follow these steps:
- Locate the QR Code: The first step is to find the QR code you wish to add. This could be on a physical ticket, an email, or a website.
- Open Your Wallet: Go to your Wallet app.
- Click "Edit Passes": Navigate downwards on the page and select the 'Edit Passes'. Now, select the 'Scan Code' optin.
- Scan the QR Code: Patiently wait as your camera application activates. Following its opening, proceed to scan either your QR code or barcode. Completion of this step will result in your pass being successfully added to your Apple Wallet.
- Confirmation: Once added, you'll see the pass in your Apple Wallet app, ready to be used whenever you need it.
For unsupported QR codes, you can follow these steps:
Step 1: Head to the App Store and conduct a search for the 'Pass2U Wallet' application. To acquire the app for your phone, tap on the 'Get' button.
Step 2: Once the app has been successfully installed, open it. You'll notice a 'hamburger' or 'menu' icon in the top left corner - tap on it.
Step 3: A side menu will unfurl. From the given options, select 'All Passes'.
Step 4: Now, you're ready to choose how you'd like to incorporate your QR code. You have three options available: 'Scan the barcode on the card,' 'Enter the barcode on the card,' or 'Retrieve the barcode from the photo.'
Step 5: It's time to add your desired QR code to your Apple Wallet. If you're uncertain about the 'Pass Type', simply select the 'Generic' option and customize to your taste.
Step 6: Once you've tailored the settings to your liking, click on the 'Done' option located at the top right to confirm your choices.
Resolving Common Issues
Even with technology designed to make life easier, hiccups can occur. Here are solutions to some common issues you might encounter:
- QR Code Not Recognized: Ensure the entire QR code is visible and well-lit. Try adjusting your angle or distance if the camera struggles to scan it.
- Notification Doesn't Appear: Check to ensure your device's internet connection is active, as some passes require online verification.
- Pass Doesn't Add to Wallet: Confirm that the QR code is compatible with Apple Wallet. If issues persist, contact the issuer for assistance.
Tips for Success
Maximize your success with these additional tips:
- Use Good Lighting: Good lighting can significantly improve the camera's ability to scan QR codes.
- Steady Your Hand: A steady hand helps the camera focus and scan the QR code more efficiently.
- Check for a QR Code Reader: If your camera app struggles with QR codes, consider using a dedicated QR code reader.
- Contact Support: If you're unable to resolve an issue, don't hesitate to contact the issuer of the pass or Apple Support for help.
Advanced Tips
For those looking to enhance their Apple Wallet experience further, consider these advanced tips:
- Customize Pass Notifications: Dive into the settings of each pass to customize notifications and stay informed about updates or changes.
- Organize Your Wallet: Regularly review and organize your passes to keep your Apple Wallet decluttered and up-to-date.
- Explore Wallet Apps: Many apps integrate directly with Apple Wallet, offering a more seamless experience when adding passes and tickets.
How to Manage Your QR Codes in Apple Wallet
Once you've mastered adding QR codes to your Apple Wallet, the next step is to manage them efficiently.
Your digital wallet can become a hub of convenience, organizing your passes and tickets to make every interaction smoother. Let's dive into how you can manage, share, and edit your QR codes and passes to enhance your Apple Wallet experience.
Edit Passes Functionality
Your Apple Wallet isn't just a static repository; it's a dynamic tool that allows you to interact with and manage your passes. Here's how you can keep your digital wallet organized and up-to-date:
- Review and Update: Regularly review your passes to ensure all information is current. Many passes update automatically, but it's always good to check.
- Rearrange Your Passes: Prioritize your passes by rearranging them. Keep the most frequently used passes at the front for easy access.
- Remove Expired or Unused Passes: Remove your Wallet clutter-free by removing no longer necessary passes.
Viewing Information for a Pass and Changing Its Settings
Each pass in your Apple Wallet comes with its own set of information and customizable settings. Here's how to view and modify them:
- Select the Pass: Open Apple Wallet and tap on the pass you want to view or edit.
- View Details: On the pass, tap the "…" (more) button to see details and additional options.
- Edit Settings: From here, you can turn on or off notifications, share the pass, or update any editable fields the issuer provides.
Sharing a Pass or Ticket with Another iPhone Using AirDrop
One of the standout features of Apple Wallet is the ability to share certain passes with friends or family members. Here's how to use AirDrop for sharing:
- Open the Pass: In your Apple Wallet, select the pass you wish to share.
- Tap on "Share Pass." Look for the share option or the "…" (more) button to find sharing options.
- Choose AirDrop: From the sharing options, select AirDrop and then choose the recipient's device from the list that appears.
- Accept the Pass: The recipient will receive a notification to accept the pass, which will then be added to their Apple Wallet.
Sending a Pass or Ticket Using Messages or Mail
If AirDrop isn't an option, you can also send passes through Messages or Mail:
- Select the Pass: Open the pass in your Apple Wallet.
- Tap on "Share Pass": Access the sharing options by tapping the "…" (more) button.
- Choose Messages or Mail: Select your preferred method and enter the recipient's information.
- Send the Pass: Complete the message or email and send it. The recipient will receive a link to add the pass to their Apple Wallet.
Changing Settings for All Your Passes
For a more streamlined experience, you can adjust settings that apply to all passes in your Wallet:
- Access Wallet & Apple Pay Settings: Go to the Settings app on your iPhone and scroll down to find "Wallet & Apple Pay."
- Automatic Updates: Turn on Automatic Updates to ensure all your passes remain up-to-date.
- Location Services: Enable Location Services for Wallet to receive relevant alerts based on your location, such as boarding passes when you're at the airport.
How to Copy a QR Code for Apple Wallet
In our increasingly digital world, having quick access to your essentials via your Apple Wallet can be a game-changer. From boarding passes to loyalty cards, QR codes bridge the physical and digital realms.
Learning how to copy a QR code for use with Apple Wallet is not just about convenience; it's about streamlining your daily routines and embracing the benefits of modern technology. Let's dive deeper into the steps, tips, and best practices for using QR codes with your Apple Wallet.
Capturing the QR Code Correctly
The first step in copying a QR code for Apple Wallet is correctly capturing the code. Here's how to ensure you get a usable image:
- Steady Your Camera: Stability is key. Use both hands to hold your device, or place it on a stable surface to avoid blurriness.
- Ensure Good Lighting: Good lighting is crucial for a clear capture. Avoid shadows or reflections that could obscure parts of the QR code.
- Focus on the QR Code: Make sure the QR code fills the camera frame as much as possible without cutting off any edges.
- Take the Picture: Once everything looks good, snap your picture. It's always a good idea to take photos from different angles.
Preparing the Image for Apple Wallet
After capturing the QR code, you might need to prepare the image for better compatibility with Apple Wallet:
- Crop the Image: Use your phone's photo editing features to crop the image so the QR code is the main focus. This helps the scanning software recognize the code more easily.
- Adjust Brightness and Contrast: If the image is too dark or too light, adjust the brightness and contrast to make the QR code more distinct.
- Check the Image Quality: Ensure the image is clear, and the QR code's edges and patterns are sharp and defined.
Transferring the QR Code to the Apple Wallet
With your QR code image ready, the next step is to transfer it to your Apple Wallet:
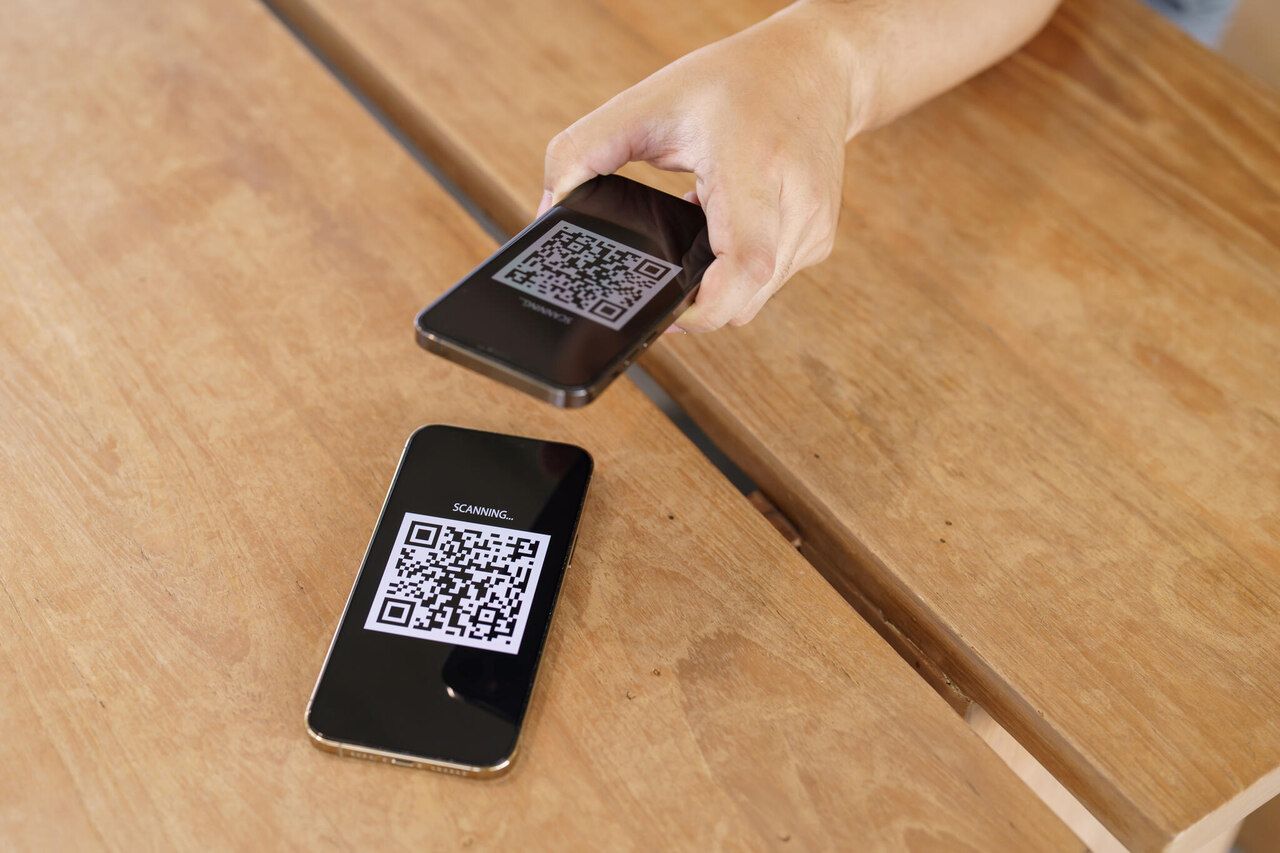
- Open the Image: Locate the QR code image in your Photos app and open it.
- Scan the Code: Use another device to scan the QR code from your screen. If you don't have a second device, you can use a QR code scanning app on your iPhone to scan the code directly from the photo.
- Follow the Prompt: Once the QR code is recognized, a notification should appear with the option to add the pass or ticket to your Apple Wallet.
- Add to Wallet: Tap the notification and follow any additional instructions to add the pass to your Wallet.
Ensuring Compatibility
Not all QR codes are designed to work seamlessly with Apple Wallet. To ensure compatibility:
- Look for Wallet-Specific QR Codes: Some QR codes are designed for Apple Wallet. These usually come with instructions or logos indicating they can be added to the Wallet.
- Contact the Issuer: If unsure whether a QR code is compatible with Apple Wallet, contact the issuer for clarification or assistance.
Best Practices for QR Codes and Apple Wallet
To make the most out of your Apple Wallet and QR codes, consider these best practices:
- Regularly Update Your Wallet: Keep your passes and tickets up to date by refreshing them in your Wallet and checking for any updates from the issuers.
- Organize Your Passes: Arrange your passes in an order that makes sense for you. You can prioritize them based on usage frequency or categorize them by type.
- Backup Important QR Codes: Save copies of important QR codes in a secure location, such as a cloud storage service, in case you need to access them again.
- Be Mindful of Security: QR codes can contain sensitive information. Be cautious about where you store and how you share your QR code images.
Troubleshooting Common QR Code Issues
If you encounter issues while copying or using a QR code with Apple Wallet, here are some troubleshooting tips:
- Re-scan the QR Code: If the first scan doesn't work, try scanning the QR code again, ensuring the image is clear and well-lit.
- Check for Updates: Ensure your iOS is up to date to avoid compatibility issues with Apple Wallet.
- Verify the QR Code's Validity: Ensure the QR code hasn't expired or been invalidated by the issuer.
Conclusion
Embracing the digital convenience of Apple Wallet not only streamlines your daily transactions but also brings a new level of efficiency and security to your lifestyle.
The possibilities are endless, from boarding planes with a digital pass to snagging those retail discounts without fumbling through your physical wallet. Remember, the journey to digital simplicity begins with a single QR code.
So add that first code to your Apple Wallet and step into a world where your essentials are just a tap away.
Frequently Asked Questions
Can I add a QR code to my Apple Wallet?
Not all QR codes are designed for Apple Wallet. QR codes that can be added usually come from official sources like airlines for boarding passes, event organizers for tickets, or retail stores for loyalty cards, and they often include instructions or an option to add to Apple Wallet.
What should I do if a QR code doesn't add to my Apple Wallet?
First, ensure the QR code is compatible with Apple Wallet. If it is and still won't add, check your internet connection, try scanning the code again, or contact the issuer for further assistance.
How do I organize the passes in my Apple Wallet?
You can rearrange passes in your Apple Wallet by tapping and holding on to a pass, then dragging it to a new position. Reviewing and removing expired or unused passes helps keep your Wallet organized.
Craving more? Check out these posts too!: