


In the era of contactless transactions, juggling physical tickets or loyalty cards can feel like a hassle. For iPhone users, adding QR codes to Apple Wallet offers a game-changing solution, letting you store boarding passes, loyalty cards, and event tickets securely in one place. But what happens when a QR code won’t scan, or you’re unsure how to organize your passes? Frustration sets in, and you’re stuck searching emails or contacting support.
This guide, updated for 2025, dives deep into adding, managing, and troubleshooting QR codes in Apple Wallet. Drawing from my experience exploring digital wallet trends, I’ll walk you through step-by-step instructions, share advanced tips, and highlight iOS 18’s latest features to ensure your digital essentials are always a tap away. With 57% of U.S. smartphone users scanning QR codes in 2024, mastering Apple Wallet is more relevant than ever.
Quick Summary by QRCodeDynamic
This guide covers everything you need to know about adding QR codes to Apple Wallet in 2025, from supported and unsupported QR code types to detailed step-by-step instructions. It explains how to prepare your device, scan or copy QR codes, and troubleshoot common issues like unrecognized codes or failed scans. You’ll also learn how to manage, organize, and share your passes using built-in features like AirDrop or third-party apps such as Pass2U Wallet. With tips on optimizing scan accuracy, customizing notifications, and keeping your digital wallet tidy, the post equips you to fully embrace the convenience and functionality of QR codes in Apple Wallet.
Why QR Codes and Apple Wallet Are a Perfect Match
Imagine boarding a flight or grabbing a coffee with just a tap—no fumbling for paper tickets or digging through emails. QR codes make this possible by bridging the physical and digital worlds, and Apple Wallet transforms them into secure, scannable passes. Whether it’s a concert ticket or a retail loyalty card, Apple Wallet keeps everything organized and accessible.
Benefits of Integration
- Simplicity: Adding a QR code is straightforward, streamlining pass management.
- Convenience: Access all passes in one app, from boarding passes to gym memberships.
- Security: Apple Wallet encrypts pass data, protecting your information.
💡 Pro Tip: Enable Face ID for Apple Wallet to add an extra layer of security for sensitive passes.
How to Add a QR Code to Apple Wallet
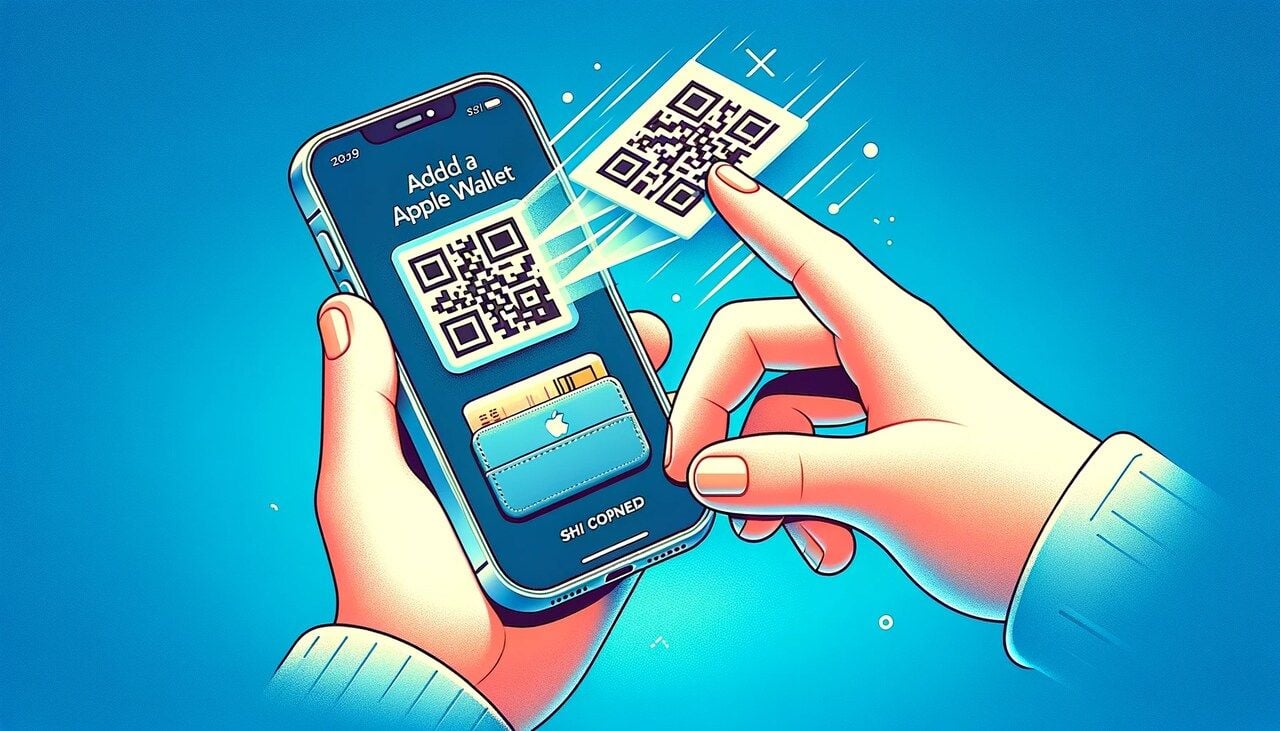
Adding a QR code to Apple Wallet declutters your life and ensures your passes are always ready. Whether you’re at the airport or a retail store, this process is a breeze with the right preparation. Here’s how to do it, including solutions for unsupported codes and iOS 18’s latest tools.
Preparation
Before scanning, set yourself up for success:
- Update to iOS 18: Ensure your iPhone runs the latest iOS for compatibility and enhanced QR scanning.
- Verify QR Code Compatibility: Check if the QR code is Wallet-compatible (e.g., from airlines or event platforms). Look for “Add to Apple Wallet” prompts.
- Stable Internet: Some passes require online verification to download details.
Step-by-Step Guide for Supported QR Codes
For QR codes designed for Apple Wallet (e.g., airline boarding passes):
- Locate the QR Code: Find it on a ticket, email, or website.
- Open Wallet App: Launch Apple Wallet on your iPhone.
- Select “Edit Passes”: Scroll down and tap “Edit Passes,” then choose “Scan Code.”
- Scan the QR Code: Point your camera at the code. iOS 18’s improved scanner detects it instantly.
- Confirm Addition: Once scanned, the pass appears in Apple Wallet, ready for use.
Using Pass2U Wallet for Unsupported QR Codes
Not all QR codes are natively compatible. For unsupported codes (e.g., local gym memberships), use Pass2U Wallet:
- Download Pass2U Wallet: Get it from the App Store.
- Open the App: Tap the menu icon in the top left.
- Select “All Passes”: Choose from the side menu.
- Choose Input Method: Options include scanning the barcode, entering the code manually, or retrieving it from a photo.
- Customize the Pass: Select “Generic” if unsure of the pass type, then adjust settings.
- Add to Wallet: Tap “Done” to save the pass to Apple Wallet.
Troubleshooting QR Code Issues
Hiccups happen. Here’s how to fix common issues:
- QR Code Not Recognized: Ensure the code is well-lit and fully visible. Adjust your angle or distance.
- No Notification: Verify your internet connection, as some passes need online verification.
- Pass Won’t Add: Confirm compatibility with the issuer. If issues persist, try Pass2U Wallet or contact.
Tips to Boost Scanning Accuracy
Maximize success with these strategies:
- Optimize Lighting: Scan in bright, even light to avoid shadows.
- Steady Your Hand: Hold your iPhone steady or use a flat surface.
- Use a QR Code Reader: If the camera struggles, try a dedicated QR code reader.
- Check Code Quality: Ensure the QR code isn’t blurry or damaged.
Advanced Features in iOS 18
iOS 18 (released 2024) enhances Apple Wallet with:
- Faster QR Scanning: Improved camera algorithms for quicker detection.
- Dynamic Pass Updates: Real-time updates for flight times or event details.
- Enhanced Sharing: Streamlined AirDrop and Messages sharing for group passes.
Managing and Organizing Your Apple Wallet Passes
A cluttered Wallet app can slow you down. Efficient management ensures your passes are organized and accessible, whether you’re boarding a flight or redeeming a coupon.
Rearranging or Deleting Passes
Keep your Wallet tidy:
- Review Passes: Check for expired or unused passes regularly.
- Rearrange for Priority: Tap and drag passes to prioritize frequently used ones.
- Delete Unused Passes: Tap a pass, select “…” (more), and choose “Remove Pass” to declutter.
Viewing and Customizing Passes
Each pass offers customizable settings:
- Select a Pass: Open Apple Wallet and tap the desired pass.
- View Details: Tap “…” to access pass info and settings.
- Edit Notifications: Toggle notifications for updates (e.g., gate changes for flights).
Sharing Passes via AirDrop
Share passes with ease:
- Open the Pass: Select the pass in Apple Wallet.
- Tap “Share Pass”: Find the share option under “…” (more).
- Select AirDrop: Choose the recipient’s device from the list.
- Recipient Accepts: The pass is added to their Wallet upon acceptance.
Sharing Passes via Messages or Email
For non-AirDrop sharing:
- Select the Pass: Open it in Apple Wallet.
- Access Share Options: Tap “…” and choose “Share Pass.”
- Choose Messages or Mail: Enter the recipient’s details.
- Send: The recipient receives a link to add the pass.
Global Wallet Settings
Streamline your experience:
- Access Settings: Go to Settings > Wallet & Apple Pay.
- Enable Automatic Updates: Keep passes current with real-time data.
- Turn On Location Services: Get location-based alerts (e.g., boarding passes at airports).
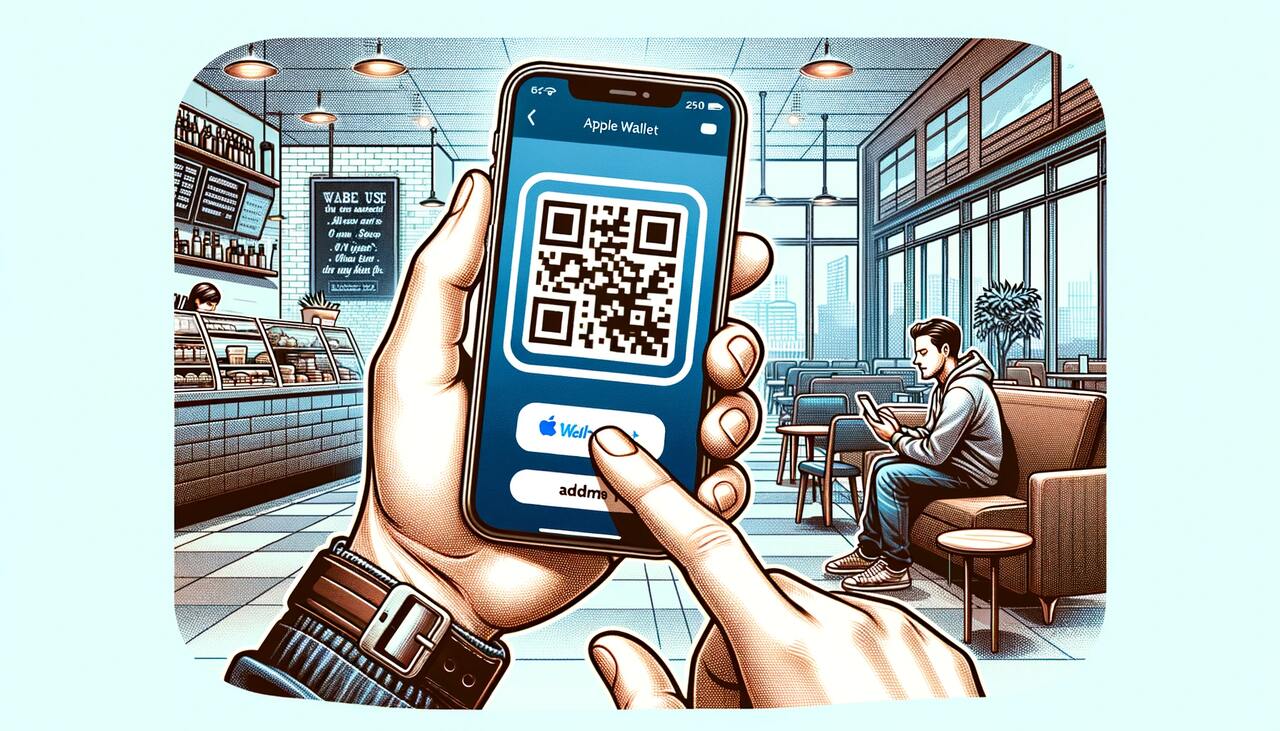
Copying a QR Code for Apple Wallet
Copying a QR code image to Apple Wallet is a lifesaver when you can’t scan directly. This method is perfect for physical tickets or emailed codes.
Step 1: Capture a Clear QR Code Image
- Stabilize Your Camera: Use both hands or a flat surface.
- Ensure Good Lighting: Avoid shadows or glare.
- Focus on the Code: Fill the frame without cropping edges.
- Take Multiple Shots: Capture from different angles for clarity.
Step 2: Edit and Optimize the Image
- Crop Tightly: Use Photos app to focus on the QR code.
- Adjust Brightness/Contrast: Enhance code visibility.
- Check Clarity: Ensure patterns are sharp and defined.
Step 3: Add the QR Code to Apple Wallet
- Open the Image: Find it in your Photos app.
- Scan with Another Device: Use a second device or a QR code scanning app to read the code.
- Follow Prompts: Tap the notification to add the pass to Wallet.
- Confirm: Verify the pass appears in Apple Wallet.
Step 4: Verify QR Code Compatibility
- Check for Wallet Support: Look for “Add to Apple Wallet” indicators.
- Contact the Issuer: If unsure, reach out for clarification.
Real-World Use Cases for Apple Wallet QR Codes
Apple Wallet shines in various scenarios:
- Travel: Store boarding passes for quick airport check-ins, as seen with Delta’s 40% digital pass adoption.
- Retail: Save loyalty cards for seamless discounts, with 64% of shoppers scanning QR codes in-store.
- Events: Access concert or sports tickets instantly, with 70% of attendees preferring digital passes.
- Transit: Use QR-based transit passes for contactless entry in cities like New York or London.
Because flight times, offers, and event details can change, link your “Add to Apple Wallet” button or landing page behind an dynamic QR code so you can swap the destination or pass template later, without reprinting signs, emails, or packaging..
Security Best Practices for QR Codes
QR codes can carry risks if mishandled:
- Verify Sources: Only scan codes from trusted issuers to avoid phishing scams.
- Secure Storage: Save QR code images in encrypted cloud services like iCloud.
- Monitor Pass Activity: Check for unauthorized pass updates in Wallet.
- Use Pass2U Safely: Ensure the app is downloaded from the official App Store.
The Future of QR Codes in Apple Wallet
Looking ahead, Apple Wallet is set to evolve:
- Digital IDs: By 2026, expect support for mobile driver’s licenses and passports in select regions.
- Dynamic QR Codes: Real-time updates for passes, like live event seating changes.
- Wider Adoption: Small businesses increasingly use apps like Pass2U Wallet for custom passes.
Frequently Asked Questions
Can I add a QR code to my Apple Wallet?
Not all QR codes are designed for Apple Wallet. QR codes that can be added usually come from official sources like airlines for boarding passes, event organizers for tickets, or retail stores for loyalty cards, and they often include instructions or an option to add to Apple Wallet.
What should I do if a QR code doesn't add to my Apple Wallet?
First, ensure the QR code is compatible with Apple Wallet. If it is and still won't add, check your internet connection, try scanning the code again, or contact the issuer for further assistance.
How do I organize the passes in my Apple Wallet?
You can rearrange passes in your Apple Wallet by tapping and holding on to a pass, then dragging it to a new position. Reviewing and removing expired or unused passes helps keep your Wallet organized.
Craving more? Check out these posts too!: